

Key Takeaways
- Jerome Powell announced the Federal Reserve will maintain current interest rates despite escalating oil prices
- Probability of future rate hikes plummeted from 25% to just 5% following Powell’s Harvard address
- WTI crude jumped 5.3% to approximately $105 per barrel, marking its first close above $100 since 2022
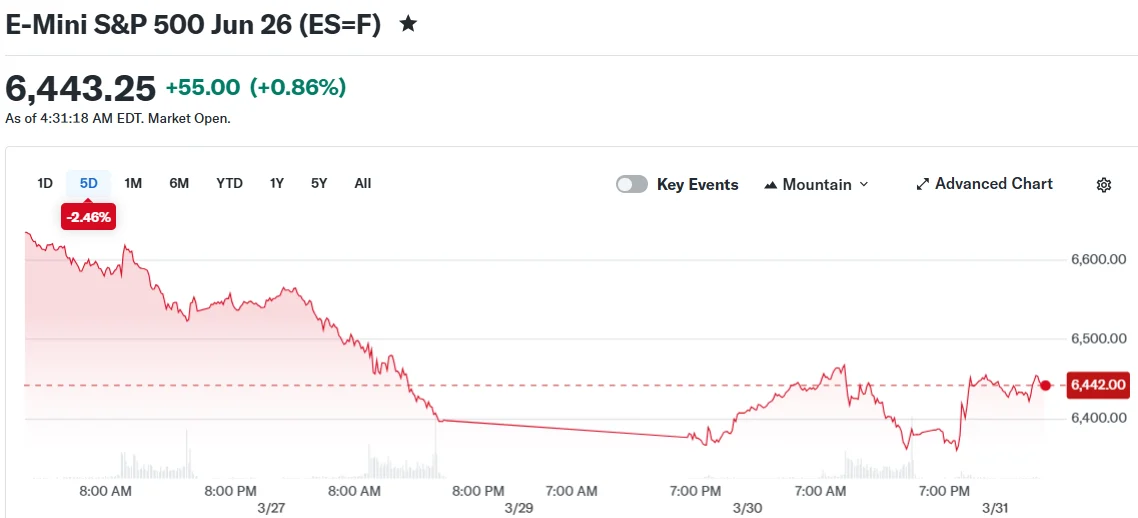
- The Nasdaq declined 0.75% while the S&P 500 shed 0.4% after surrendering early session gains
- Bitcoin pulled back to approximately $66,500, showing minimal movement over 24 hours
In a Monday address at Harvard University, Federal Reserve Chair Jerome Powell indicated the central bank intends to maintain its current interest rate policy despite escalating crude oil prices driven by the intensifying Iranian conflict.
🚨BREAKING: Jerome Powell speaking at Harvard admits the Fed is trapped between two bad choices.
"There's downside risk to the labor market, which suggests keep rates low”
“But there's upside risk to inflation, which suggests maybe don't keep rates low."
Meanwhile Trump is… pic.twitter.com/iykNoPVo5b
— Coin Bureau (@coinbureau) March 30, 2026
Powell emphasized that inflation expectations remain “well anchored” when looking beyond immediate timeframes. While recognizing potential future policy adjustments may become necessary, he stressed it’s premature to fully assess the economic ramifications of the ongoing crisis.
Bond markets responded favorably to his remarks. The benchmark 10-year Treasury yield declined nine basis points to settle at 4.35%, while the 2-year yield dropped eight basis points to 3.83%.
Market expectations for Fed tightening shifted dramatically. CME FedWatch data revealed the likelihood of a 2026 rate increase collapsed from Friday’s 25% reading to merely 5% by Monday’s close.
However, equity markets failed to sustain their morning momentum. The Nasdaq closed down 0.75% and the S&P 500 finished 0.4% lower. Weakness in semiconductor stocks dragged down broader indices.
[[LINK_START_2]]Bitcoin[[LINK_END_2]] similarly relinquished its earlier advances, finishing near $66,500 with virtually no change on a 24-hour basis.
Crude Oil Continues Upward Trajectory
Energy markets provided the primary headwind for equities. WTI crude advanced 5.3% during Monday’s session to settle just below $105 per barrel. This represented the first time WTI has closed above the $100 threshold since 2022.
While oil has traded above $100 since hostilities with Iran commenced, Monday’s settlement established a significant psychological benchmark. The Middle East conflict has severely disrupted critical energy transportation corridors, fueling price appreciation.
President Trump issued warnings via social media Monday, stating that unless Iran reopens the Strait of Hormuz, the United States would target electrical generation facilities, petroleum infrastructure, and potentially water desalination plants.
Market observers note that trading activity continues to be dictated by emerging developments from the conflict zone. Krishna Guha at Evercore noted market attention has pivoted toward economic growth concerns stemming from persistently elevated energy costs.
“The probability of one or more cuts is much higher than the probability of a hike,” Guha stated.
Investor Uncertainty Persists
Chris Senyek at Wolfe Research indicated his firm continues to hold a cautious market stance. He pointed to contradictory messaging from the Trump administration regarding both military escalation and potential diplomatic resolution.
Chris Larkin at E*Trade from Morgan Stanley suggested markets will find it challenging to move beyond present turbulence absent a definitive resolution to the military conflict.
Fixed income markets are tracking toward their weakest monthly showing since 2024. Equities are similarly positioned for their worst monthly performance since 2022.
The White House has maintained its threat of additional strikes against Iranian critical infrastructure as the conflict enters its fifth week with no resolution in sight.
Powell remarked Monday: “We will eventually maybe face the question of what to do here. We’re not really facing it yet.”